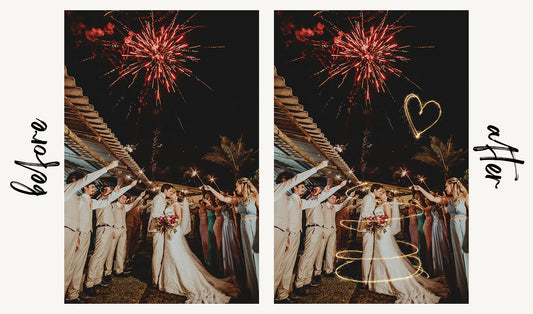


Intro
Ahh, the classic matte look. In case you don't know what it is, it's simply the effect of flattening the blacks in a photo so that shadows look flat and muted. This is how many older cameras produced photos so you could say it's somewhat of a vintage look. But don't let that fool you because it's still hugely popular today.
How many times have you seen a photo with a matte effect? Everywhere you look, from Instagram to Facebook, you'll surely find a photo with it. And to be fair it looks pretty good and that's why you see it everywhere. It's my personal favourite style as well. But... how do you do it, in Lightroom specifically?
Well, the good news for you is - creating a matte effect in Lightroom is quite easy. With the knowledge I'm about to bestow upon you in this article, you'll be a matte creating ninja by the end of it.
Ready? Let's dive in.
Here's what we'll be accomplishing today.

Getting Started
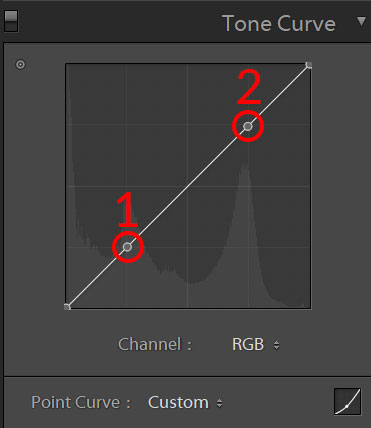
The first thing, of course, is to load up the photo you'll be using then head over to the develop module at the top of Lightroom. On the right-hand side of the screen, scroll down and locate the Tone Curve section.
Tone Curve
The tone curve is the main section in Lightroom that will help us create this look. Shadows on the left, midtones in the middle and highlights on the right. The whole matte effect is created by flattening the blacks. The blacks in this situation are the shadows so that's what we'll be changing.
Start off by plotting two points in these two spots. Make sure "point curve" at the bottom is set to custom.
Next, we're going to grab the point at the very bottom and pull it upwards slightly. Although the amount you raise it is up to your personal preference. The more you raise it the more matte you will achieve. This alone will already add a matte effect to your photo. I like to take it a bit further but you can stop now if you wish.
This is what you should have so far.

Now let's go back to the two points we created before and edit them. Take the first point from before and pull it slightly down. Then take the second point and raise it slightly above. What you want to have, is an s-curve.
Doing this extra step will bring down the midtones a bit more and raise the highlights a bit. Of course, this is my personal preference when adding a matte effect.
As mentioned before, if you want a stronger matte simply raise the point at the very bottom higher. If you want less matte then lower it.
That's it?
Believe it or not, creating a matte effect in Lightroom really is that simple. You can play around a bit more with the s-curve to create different styles of matte, however. Feel free to experiment. Lightroom is all about experimenting until it looks the way you want!
Want more?
If you're having trouble or just lazy, you might as well check out our free matte presets we made here and here to use as examples.
OR you can get some of our premium matte presets if you need to get your hands on some extra special sauce level matte presets...