| Key Points |
|---|
|
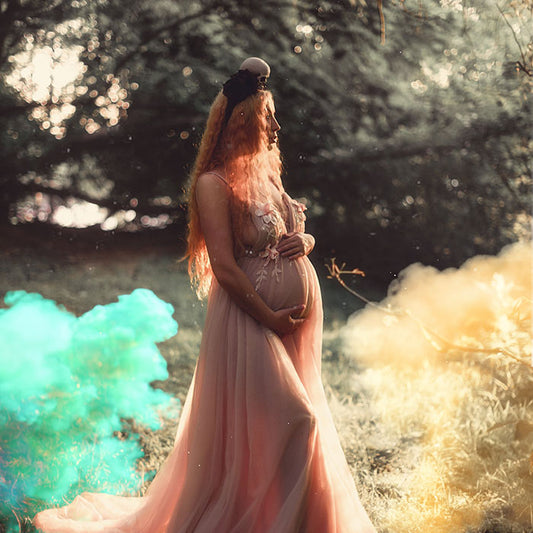
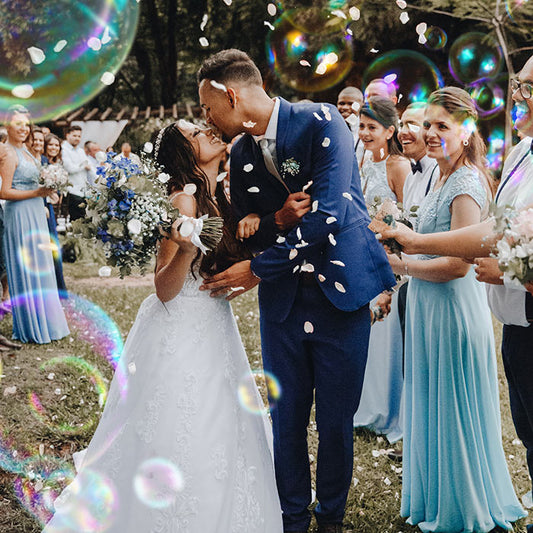
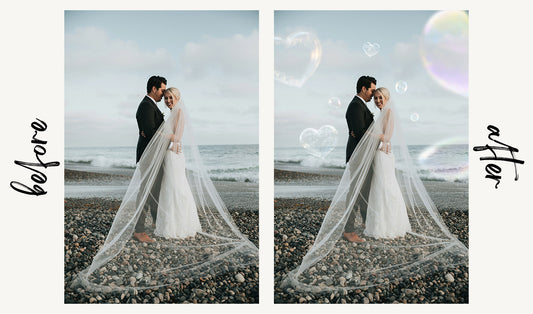
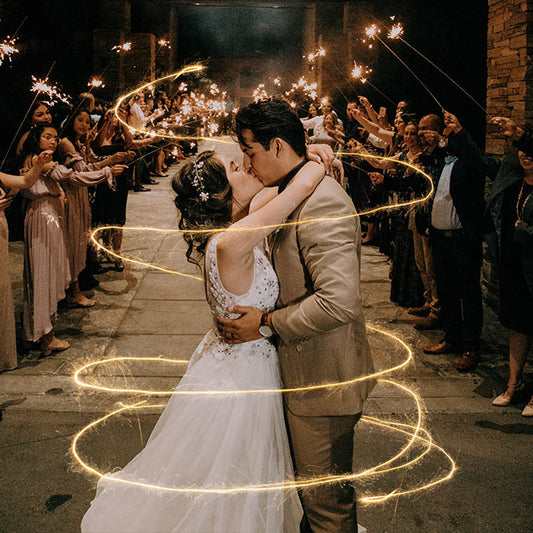
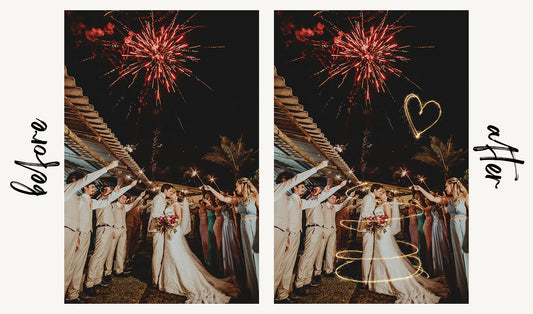
Overlays are powerful tools that can change ordinary photos into stunning works of art. They open up endless creative possibilities with things smoke, rain, fire, and more. Make sure to check out our YouTube guide below as well:
Basic Steps to Use Overlays
-
Open Your Base Image
- Open the photo you want to enhance in Photoshop
- Make sure your image is in RGB color mode
-
Add the Overlay
- Go to File > Place Embedded (or drag and drop from a folder)
- Navigate to your overlay file and select it
- Click Place
-
Resize and Position
- Use the transform controls to fit the overlay to your image
- Hold Shift while resizing to maintain proportions
- Press Enter to apply the transformation
Working with Blend Modes
Different blend modes create different effects with overlays:
- Screen: Perfect for light effects, sun flares, and fog
- Overlay: Great for textures and subtle effects
- Soft Light: Creates gentle, natural-looking effects
- Multiply: Works well for darkening and shadow effects
- Color Dodge: Ideal for bright light effects and glows
Adjusting Overlay Intensity
Control how strong your overlay appears:
-
Layer Opacity
- Adjust the layer opacity slider
- Lower values create subtler effects
-
Layer Mask
- Add a layer mask to the overlay layer
- Use black brush to hide parts of the overlay
- Use white brush to reveal parts
- Adjust brush opacity for fine control
Popular Overlay Types and Their Uses
Light Overlays
- Sun flares for natural lighting effects
- Lens flares for artistic shots
- Light leaks for vintage looks
- Use Screen or Add blend modes
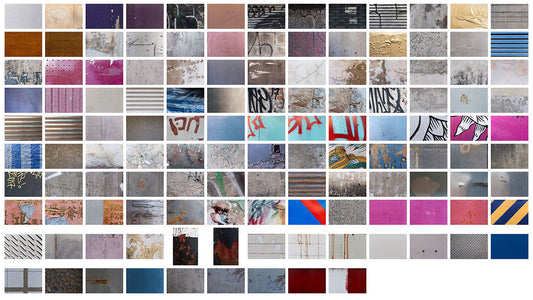
Texture Overlays
- Grain for film-like effects
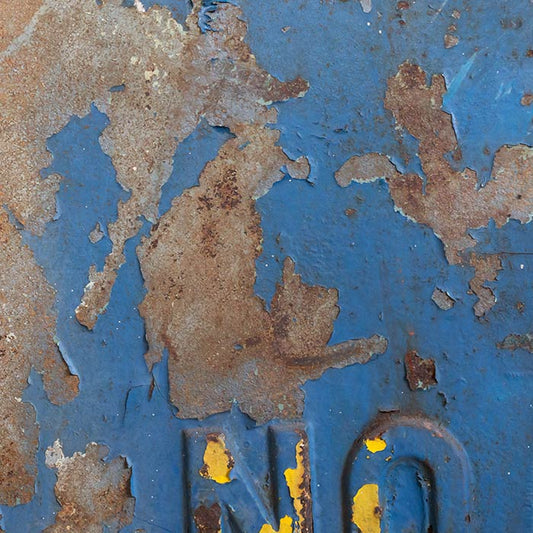
- Grunge for aged looks
- Paper textures for artistic feel
- Use Overlay or Soft Light blend modes
Weather Overlays
- Rain for moody atmospheres
- Snow for winter scenes
- Fog for mysterious looks
- Use Screen blend mode with varying opacities
Advanced Tips
- Color Adjustments: Use Hue/Saturation to match overlay colors with your image. You can also try the harmonization neural filter.
- Multiple Overlays: Layer different overlays for complex effects and depth.
- Smart Objects: Convert overlays to Smart Objects for non-destructive editing
- Custom Brushes: Use the brush tool with overlay opacity for selective application
Common Mistakes to Avoid
- Overusing effects - subtlety is key
- Not matching lighting direction with the base image
- Forgetting to scale overlays proportionally
- Using low-quality overlay files
Conclusion
Photoshop overlays can dramatically improve your photos and turn them into works of art. Start with subtle effects and experiment with different blend modes and opacities to find your own unique style.
Ready to enhance your photos with professional overlays? Explore our Photoshop Overlay Collection for high-quality effects.
Frequently Asked Questions (FAQ)
What file formats work best for overlays?
PNG and TIFF files work great for overlays as they support transparency, however JPG files work great as well, you'll just need to use a blending mode to remove the background and make it transparent.
Can I use multiple overlays on one image?
Yes, you can stack multiple overlays on a single image. Just make sure to adjust the opacity and blend modes of each layer to achieve a balanced look.
How do I make overlays look natural?
To make overlays look natural, pay attention to the direction of light in your base image, use appropriate blend modes, adjust opacity to taste, and use layer masks to control where the overlay appears.
Can I save my overlay settings for future use?
Yes, you can save overlay settings as an Action in Photoshop. This allows you to quickly apply the same effect to other photos with a single click.
Why do my overlays look pixelated?
Pixelation usually occurs when using low-resolution overlays or when scaling them up too much. Always use high-quality overlay files and avoid enlarging them beyond their original size.


