

Intro
If you've ever wondered how to overlay pictures in Photoshop then look no further. The process is quite simple and after this tutorial, you'll be overlaying pictures on top of each other left and right like a pro. So let's get started.
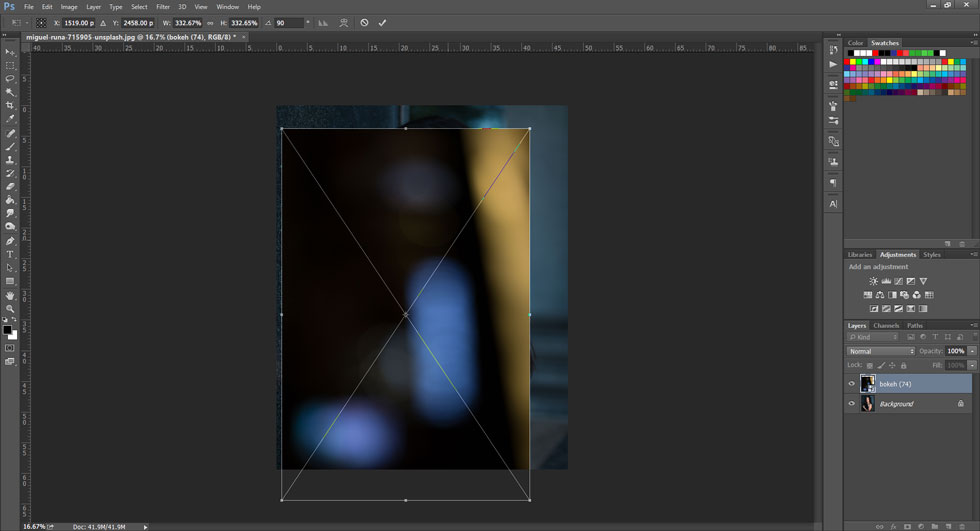
This is what we'll be accomplishing today using our bokeh overlays collection for photoshop...

Step 1. Importing the Overlay
To start, go ahead and open the base photo inside Photoshop. Now take the image you wish to overlay and drag and drop it onto the base photo. Now press Ctrl-T and then hold shift and drag from a corner to resize the overlay to the size you need. Hit enter to place it.
Step 2. Set Blending Mode
From here, it completely depends on the picture you are using to overlay. For our example, we'll want to change the blending mode. If you use an image with a black background and bright colors you should select the blending mode to either "screen" or "lighten." This will remove the black background and only leave the light parts.

If you are using just a normal photo to overlay, you can simply change the opacity by using the opacity slider and set it lower so that it blends in with the base image. You could also use the blending mode "overlay" or play around with any of the other modes.
Step 3. Set Opacity
For the last step in our example, we'll simply lower the opacity to around 50% so that the overlay is not so intense.

Bonus Step
Now that you've got your image overlaid maybe you've noticed that there are some parts that are overlapping that do not look so great. To fix this, select the overlay layer (the layer on top) and then create a layer mask by clicking the button at the bottom of the screen that looks like a rectangle with a circle inside it. This will allow us to edit the layer without actually affecting the real image.
Now select the brush tool and set the flow to around 5% with a 100% opacity. Just paint over the parts that you wish to get rid of and that's it. You can also play around with the flow and set it higher if you wish. A lower flow will take longer to erase but will make it blend more naturally.
So as you can see, combining images in Photoshop takes no more 3 minutes and some clicking. Now that you are a pro, get out there and start overlaying more images!
Questions and Answers
- Can I overlay more than one picture?
Yes, just follow the same steps again for however many times you want.
- Does this work in Photoshop CC, CS6, etc?
This will work in any Photoshop version from CS2 and up and I can guarantee you're not using a version anywhere near as old as that.
- Where can I get that overlay you used in your example?
The overlay we used comes from our bokeh photo overlays collection which you can get here.
Have any questions? Want to show us what you accomplished using this tutorial? Leave a comment and show/tell us! Also, be sure to check out all the other photoshop tutorials we have on our site.


